Freezing temperatures and a head cold have kept me indoors for a few days. I spent some of that time learning how to make a Photoshop tool called a brush. I started with this photo of a mandarin duck (Aix galericulata) that I took on a warm autumn day at the Prospect Park Zoo last year.
The Photoshop steps are simple: open the jpg in Photoshop and select Layer Style from the Layer pull down menu. Select Blending Options and use the slider to remove the background, then delete any bits of background that remain with the eraser tool.
Before making it a brush, reduce the size with Image Size option on the Image pull down menu. Then select Define Brush Preset from the Edit pull down menu. Viola! A duck brush is born. I’m using Photoshop CS5.
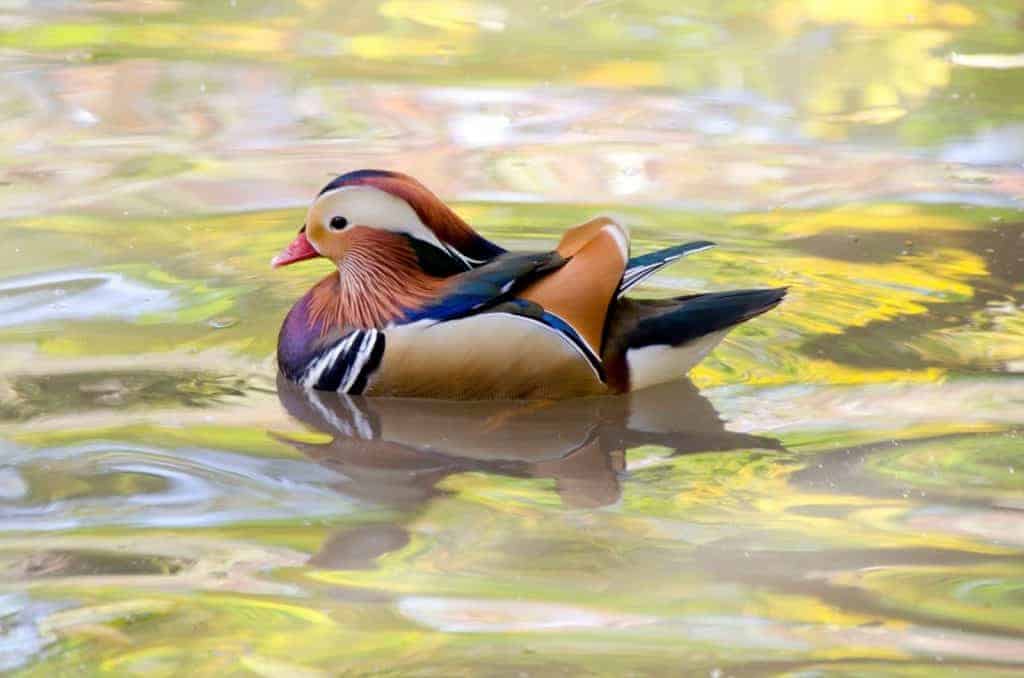 Mandarin Duck (Aix galericulata)
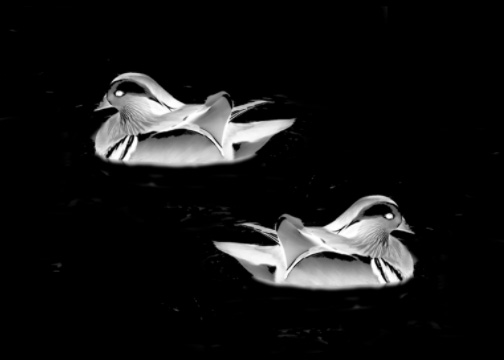 Once it is in your brush library you can paint with it. Toproduce two shadowy ducks on black, for instance. Click to enlarge.
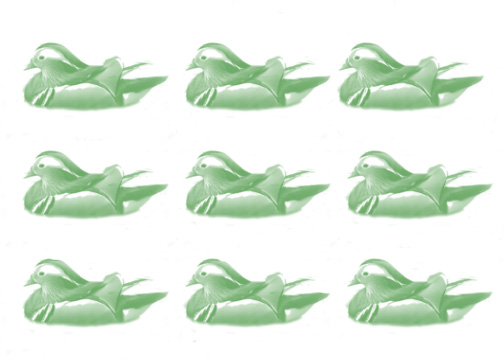 Or pick a color and dab a few rows of ducks.
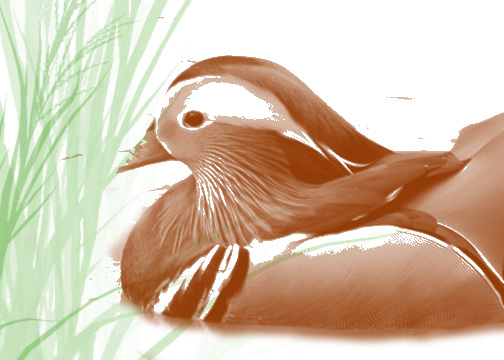 Paint it a warm brown and add some marsh grass.
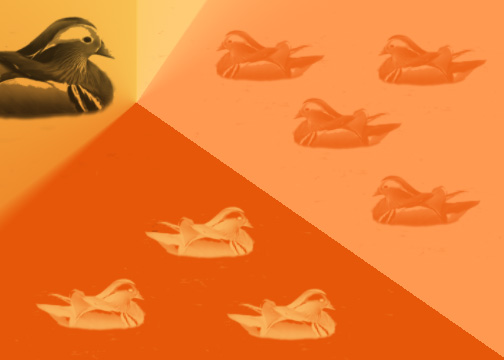 Put a few on a colorful background. Or anything else you can think of. I am looking forward to warmer weather when I can go outside and watch real ducks.
Julie Feinstein
I am a Collection Manager at the American Museum of Natural History, an author, and a photographer. I live in New York City. I recently published my first popular science book, Field Guide to Urban Wildlife, an illustrated collection of natural history essays about common animals. I update my blog, Urban Wildlife Guide, every Sunday.

Leave a Reply