In the wild, animal parents often face daunting challenges in raising their young. Among these challenges, the sight of a mother grizzly bear with five cubs in Yellowstone National Park stands out as a rare and remarkable event. Grizzly bears are one of the two bear species residing in Yellowstone, the other being the black […]

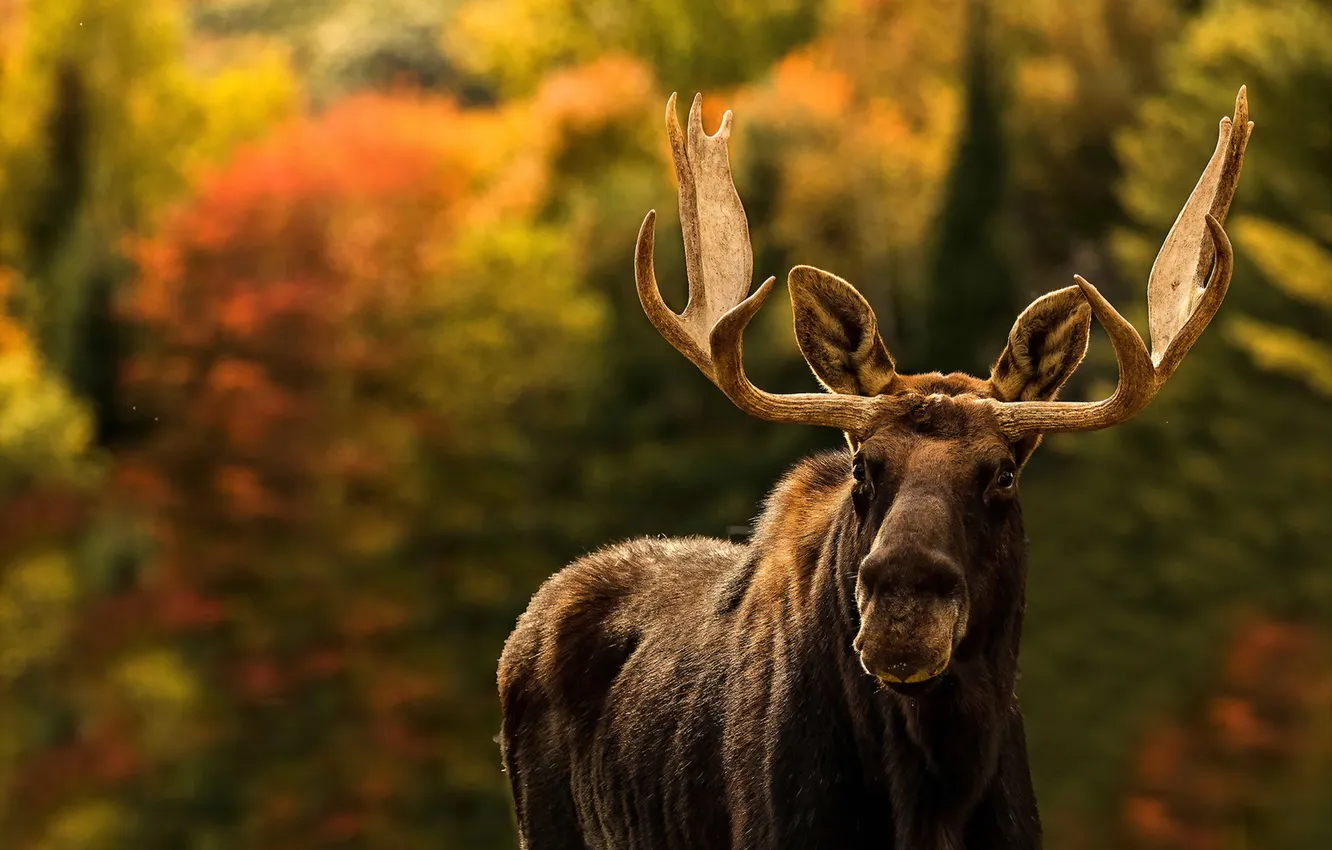
If you think you could outrun a moose, this video will soon change your mind
If you’ve ever glimpsed a seemingly docile moose grazing in a forest or drinking from an alpine lake, you might think all those wildlife warnings about stampeding moose are overkill. These creatures are so massive and oddly proportioned, surely you could easily slip behind a tree or boulder before it picks up enough speed to […]

Ugandan chimps are eating bat guano, raising concerns over human epidemics
“Finish your yogurt, sweetheart, it’s good for your bones. And take a few almonds, so you’ll stay healthy.” You may have heard this before, and rightly so. Minerals, such as calcium and magnesium, are vital to our functioning as they ensure that our bones, muscles, heart and brain work properly. And the same holds for […]

How Hurricane Maria Transformed a Monkey Society
In September 2017, Hurricane Maria unleashed its fury on Puerto Rico, leaving devastation in its wake. The nearby island of Cayo Santiago, home to hundreds of rhesus macaques since 1938, was not spared. Though devoid of human residents, the island’s primate inhabitants faced a dramatic upheaval. Lauren Brent, a behavioral ecologist at the University of […]

Canadian Province Reinstates Grizzly Bear Hunting Amid Conservation Outcry
In a move that has sparked significant backlash from conservationists, the Canadian province of Alberta has reinstated grizzly bear hunting after a 20-year prohibition. The decision, which was made public on June 17, amends the Wildlife Act to allow the hunting of grizzly bears classified as “problem bears” due to their interactions with humans or […]

VOTE for the Best Photo of the Month July 2024
Welcome to the “Best Photo of the Month” competition showcasing and celebrating the biodiversity of Planet Earth. Voting is easy and lots of fun. By popular request the number of images to be selected has been increased to six. First click an image and the slideshow will start automatically. Select the SIX images you like best […]

Seabirds Will Benefit from New Bill to Update Federal Fisheries Law
WASHINGTON (July 3, 2024) – Today, Reps. Jared Huffman (D-CA), Ed Case (D-HI), Mary Peltola (D-AK), and James Moylan (R-Guam) introduced the Sustaining America’s Fisheries for the Future Act of 2024, a bill that reauthorizes the Magnuson-Stevens Fishery Conservation and Management Act (MSA), our nation’s primary federal fisheries law. “This bill introduces stronger protections for […]

Outrage Over Viral Video of Safari Visitor Throwing a Plastic Bag into Hippo’s Mouth
A recent viral video from West Java, Indonesia, has ignited global outrage and highlighted growing concerns over human interactions with wildlife. The footage captures a safari visitor recklessly tossing a plastic bag into a hippo’s mouth, leading to widespread condemnation online. Source: @dailymail/YouTube The incident occurred at Safari Park, where a hippo was seen […]
