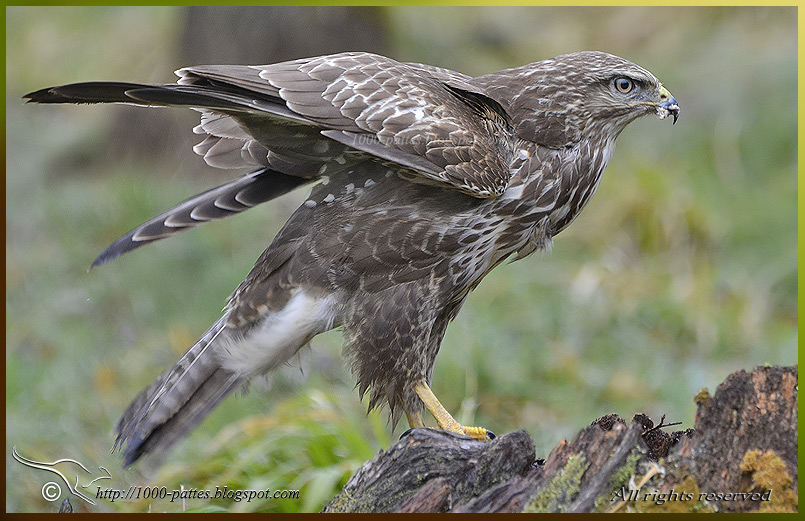
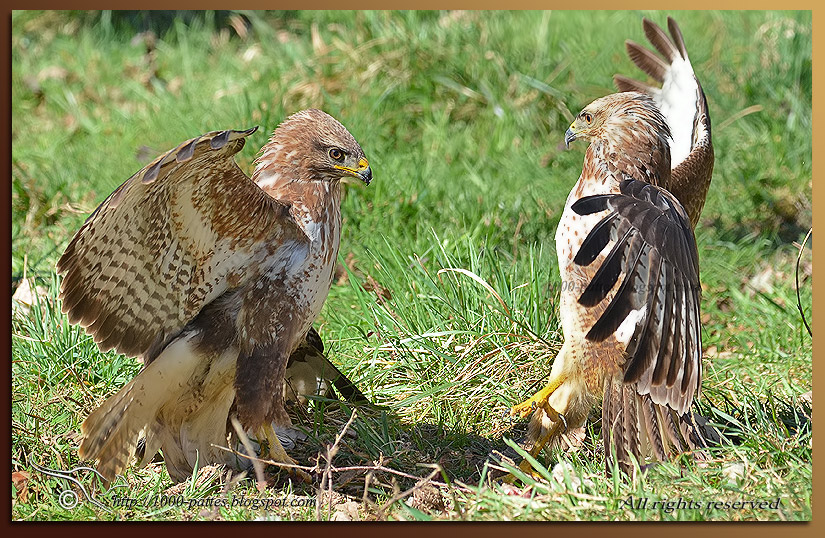
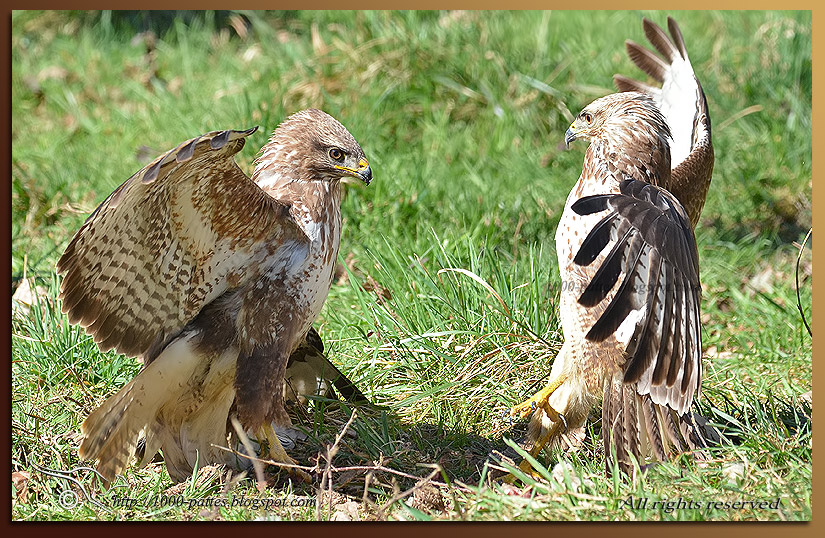
A Quick little tutorial to correct a burnt area in a photo. Level: medium As you can see on the photo below, some times the cell (photodiode) had difficulty analyzing contrasts and the white on the breast of the right buzzard caused this burnt effect.
-
Once your pic is opened in PSD (will work with Photoshop CS6 and probably CS5)
-
Select (top of work space) and Color range.click
-
In the opened window on Sampled colors then on Hightlights and OK.
-
Then on the keyboard press Ctrl + J to create an independent layer.
-
In the layer properties choose Multiply.
-
Go to Filter, Blur, and Gaussian blur et and adjust the radius to about 150 but you can duplicate this highlights layer.Tip: in point 3, once this highlights layer has been created, erase anything else than the desired area to work on; Ie: it will have isolated also the light area in the grass and that must not be included in this manipulation.
To have a better look at what you’re doing, you can hide the eye of the background layer (your image). When both images are compared on a black background, it is much more obvious.
End result: the problem cannot be entirely solved but it will attenuate it enough to make it acceptable.
Noushka
Passionate about Nature and photography but mostly animals and birds. I live in France at the present, but have lived in Africa for 16 years and in the U.S. for 3 years and with Australia in mind for the future. With my husband, I created and managed a Bird Park in South Africa, raising mainly psittacines; the breeding facility housed over 1000 parrots at any given time. My photography is about sharing fauna's beauty with other enthusiasts! Equipment: NIKON lenses: 400 mm Z F4/5, 800 mm Z, 500 mm, 200/500 mm, 800 mm f5/6E


Leave a Reply